

 > Mail > Layout > Email signature.
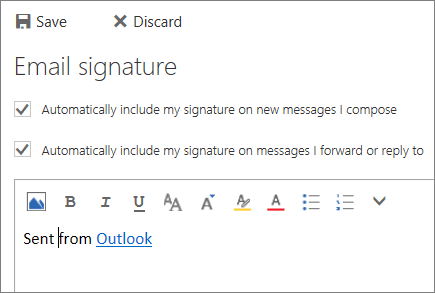
 Scheduling assistant to see everyone’s free/busy times (Exchange users).
  Add Skype meeting if you want people to be able to call in.
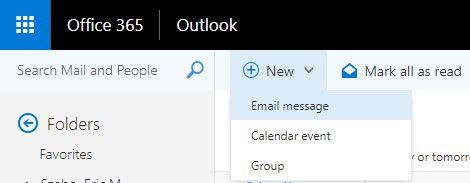
- Select New > Email message.
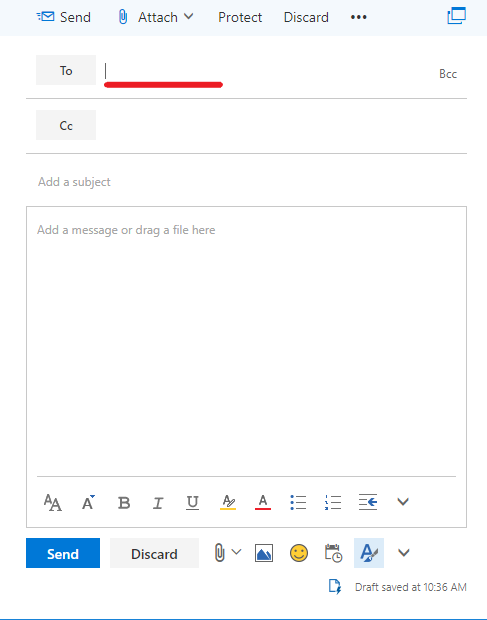
- Select Attach.
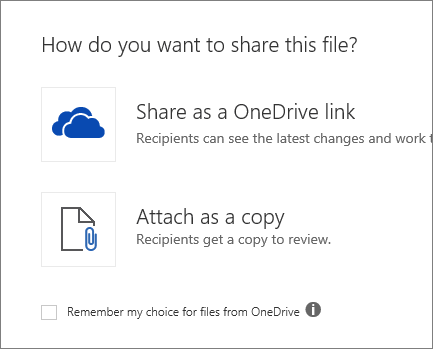
- Choose which files to share and select Next.
- Select Share as a OneDrive link.
- To share a file on your C: drive:
Select Upload and share as a OneDrive linkto upload the file to OneDrive and share the link.
Block or allow (junk email settings)
Use the Block or Allow settings to help control unwanted and unsolicited email messages by creating and managing lists of email addresses and domains that you trust and those that you don’t.
Safe senders and recipients
Safe senders are people and domains you always want to receive email messages from. Safe recipients are recipients that you don't want to block, usually groups that you’re a member of. Messages received from any email address or domain in your safe senders and recipients list are never sent to your Junk Email folder.
Add a sender or a domain to the safe senders list
-
Sign in to Outlook Web App. For help, see Getting started in Outlook Web App.
-
At the top of the page, select Settings
 > Mail.
 -
Under Options, select Block or allow.
-
To add an entry to Safe senders and recipients, enter the email address or domain that you want to mark as safe in the Enter a sender or domain here text box, and then press Enter or select the Add icon
 next to the text box.
-
For example, to mark all email from addresses that end in contoso.com as safe, enter contoso.com in the text box.
-
To mark a specific person as safe, enter that person's full email address. For example, to mark all messages from KatieJ@contoso.com as safe, enter KatieJ@contoso.com in the text box.
-
-
(Optional) Select the Trust email from my contacts check box to treat email from any address in your contacts folders as safe.
- Select Save to save your changes.
Remove a sender or domain from the safe senders list
-
To remove an entry from Safe senders and recipients, select the entry and select Remove.
-
Select Save to save your changes.
Blocked senders
Blocked senders are people and domains you don't want to receive email messages from. Messages received from any email address or domain listed in your blocked senders list are sent directly to your Junk Email folder.
Add a Sender or domain to the blocked senders list: Outlook Web access
-
At the top of the page, select Settings
> Mail. -
Under Accounts, select Block or allow.
-
To add an entry to Blocked senders, enter the email address or domain that you want to block in the Enter a sender or domain here box, and then press Enter or select the Add icon
next to the text box.-
For example, to block all email from addresses that end in contoso.com, enter contoso.com in the box.
-
To block a specific person, enter that person's full email address. For example, to block all messages from KatieJ@contoso.com, enter KatieJ@contoso.com in the box.
-
-
(Optional) Select the Don’t trust email unless it comes from someone in my Safe Senders and Recipients list or local senders check box to treat all email as junk unless it comes from someone included in your Safe Senders and Recipients list or local senders.
-
Select Save to save your changes.
Remove a sender or domain in the blocked senders list
-
To remove an entry from your Blocked senders list, select the entry and select Remove..
-
Select Save to save your changes.
Email Encryption
The University of Toledo has implemented an email encryption service for communications containing sensitive information. All external university correspondence (sent to addresses other than those at utoledo.edu) containing PHI, SSNs, Credit Card numbers or other sensitive personal information should be encrypted prior to transmission (see UT Electronic Mail Services Policy). To encrypt and email follow one of the methods below
1. Include the phrase [encrypt] in the subject line of the email (the brackets [ ] must be used to force the encryption).

2. Select the options tab at the top of your email message. select the encrypt button
and select Encrypt-Only