

General Starfish Features
Starfish is a tool utilized by faculty and staff to support their day-to-day work through various features. Explore the various features such as tracking item management, meeting documentation, note outreach documentation, filtering, and more. If you have any questions, contact AcademicSuccess@utoledo.edu.
Various tracking items are available to raise on students to either refer them to specific campus resources (referrals), notify them of an academic concern or high-level alert (flags), or praise them for their outstanding course work (kudos).
Raise a Tracking Item
- Access Students: Click the Starfish menu and then click "Students".

- Select the My Students Tab: There are multiple tabs featured across the top of Starfish, so ensure you are on
the My Students tab, which will individually list each student account in alphabetical
order.

- Identify Student: Search for the student you would like to raise a tracking item (you may need to clear
any previous filters to locate the student). In order to identify a group of students
to raise a tracking item, apply filters by using either attributes, organizations,
cohorts, etc.

- Select Student(s): Once you locate the student folder, select the box next to their name. If you would
like to select multiple students, you may do so by selecting the box next to all applicable
names. Note that any action you complete on multiple students will be done on all
selected students, including the comments you add. Therefore, if you want to personalize
the comments for each student, you will need to individually select each student.

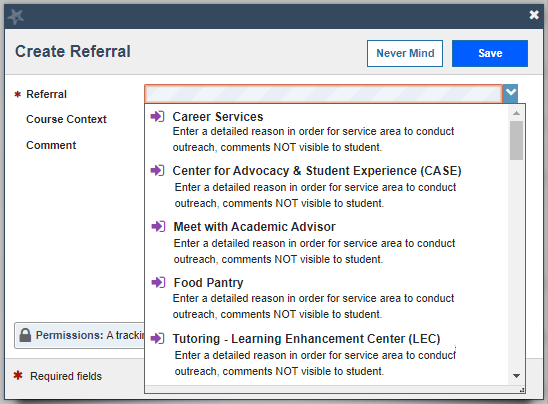
- Select the Tracking Item Type: Click the desired tracking item icon - Flag, Referral, or Kudos.

- Flags will allow you to raise concerns on the student's academic performance or update the status of student registration (Registration Codes).
- Referrals will allow you to refer a student to a campus resource (Academic Advisor, Tutoring, Food Pantry, Career Services, etc.)
- Kudos will allow you to send the student positive feedback on their academic performance.
- Select Tracking Item: In the new window, a drop-down list of tracking items should appear, so select the
desired item you would like to raise on the student. Review the descriptions under
the reporting items to see what circumstances qualify for this item to be raised on
a student.
- Select a Course (Not Required): If the tracking item is regarding a specific course, select the course option, which
will list the courses the student in currently enrolled.

- Select a Due Date (Not Required): Some of the tracking items will allow you to select a due date for the task. The
student will receive a reminder email once the due date has passed if the item has
not been addressed. Recommendation: Set the due date at least one week from the date
you raise the item to provide enough time for the student to act.

- Comment: Add a detailed comment with the reason you are raising this tracking item on the student,
so that other Starfish users or the service area can assist with outreaching to the
student. Most items will allow the student to view the comments, so make sure to provide
descriptive and constructive feedback.
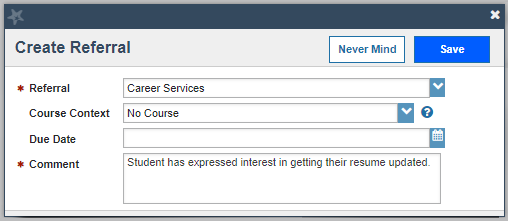
- Click Save to raise the tracking item on the student.
Comment on a Tracking Item
- Access Students: Click the Starfish menu and then click "Students".
- Select the Tracking Tab: There are multiple tabs featured across the top of Starfish, so ensure you are on
the Tracking tab, which will list students with active tracking items in Starfish.

- Identify Student's Tracking Item: Search for the student and specific tracking item you would like to add a comment
(you may need to clear any previous filters to locate the student). In order to identify
a group of students to add a comment, apply filters by using either attributes, organizations,
cohorts, etc.

- Select Student's Tracking Item: Once you locate the student's tracking item, select the box next to their name. If
you would like to select multiple students, you may do so by selecting the box next
to all applicable names. Note that any action you complete on multiple students will
be done on all selected students, including the comments you add. Therefore, if you
want to personalize the comments to each student, you will need to individually select
each student.

- Comment Button: Click the Comment button to add a comment to the tracking item.

Alternatively, you may instead hover over the icon of the tracking item (flag icon, referral icon, star icon) to access the comment button as well.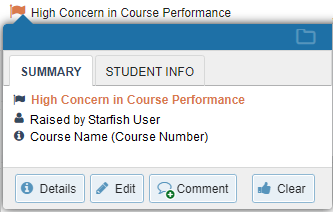
- Enter Comment Details: Document the details of your outreach regarding the tracking item (email outreach,
phone outreach, etc.) to inform others of the work already being done and to help
minimize duplicate outreach.
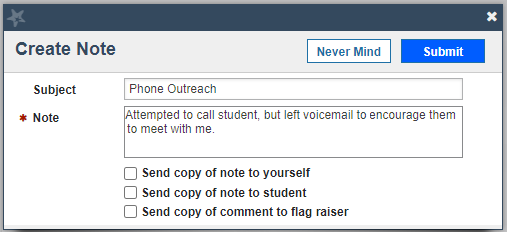
- Send Copy of Comment: There is the option for you to send a copy of the comment to yourself, the student,
or the raiser. If you were to send a copy of the comment to the student, you would
need to structure the comment in the format of an email message directed toward the
student. Enter the subject as the subject of the email message and then enter the
body of the email message in the note section. Ensure to include a greeting, your
message, and your signature.
- Click Submit to save changes.

Resolve a Tracking Item
- Access Students: Click the Starfish menu and then click "Students".
- Select the Tracking Tab: There are multiple tabs featured across the top of Starfish, so ensure you are on
the Tracking tab, which will list students with active tracking items in Starfish.
- Identify Student's Tracking Item: Search for the student and specific tracking item you would like to resolve (you
may need to clear any previous filters to locate the student). In order to identify
a group of students to resolve a tracking item, apply filters by using either attributes,
organizations, cohorts, etc.
- Select Student's Tracking Item: Once you locate the student's tracking item, select the box next to their name. If
you would like to select multiple students, you may do so by selecting the box next
to all applicable names. Note that any action you complete on multiple students will
be done on all selected students, including the resolve reason and comments you add.
Therefore, if you want to personalize the resolve reason and comments to each student,
you will need to individually select each student.
- Resolve Button: Click the Resolve button to clear the tracking item.

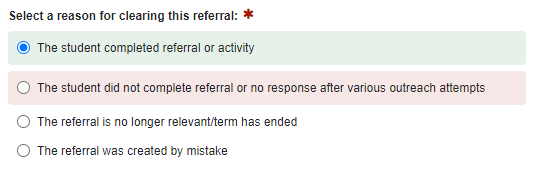
Alternatively, you may instead hover over the icon of the tracking item (flag icon, referral icon, star icon) to access the clear button as well. - Select a Resolve Reason: There are various options available to categorize your reason for resolving the tracking
item, select that option here. Resolve reason examples include successfully addressed,
not successfully addressed, no longer relevant, or created by mistake.
- Enter Comment Details: Add a comment regarding the further details of the reason for resolving the tracking
item.

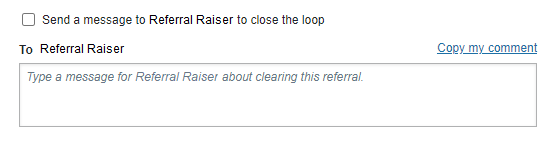
- Unselect Send Message to Raiser: There is the option for you to send an email notification to the raiser of the tracking
item, which will indicate that the tracking item they raised has been resolve. However,
due to there being so many tracking items in the system, it is recommended to unselect
this option to avoid overwhelming users with email notifications.
- Click Submit to save changes.
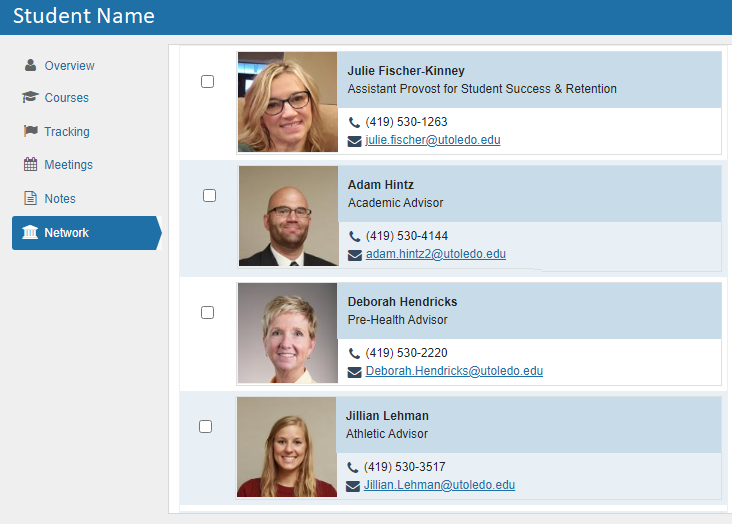
Each student has a personalized success network in Starfish, which will list the student's assigned academic advisor, athletic advisor, and more (see below for full list). Access the student's Success Network to identify who is connected to the student and obtain their contact information.
- Academic Advisor (as assigned on Banner)
- Instructors for the current semester
- Student-Athlete Support Services Coordinator
- Pre-Health Advisor
- TRIO Student Support Services Coordinator
- Assistant Provost for Student Success & Retention
How to Access Student's Network
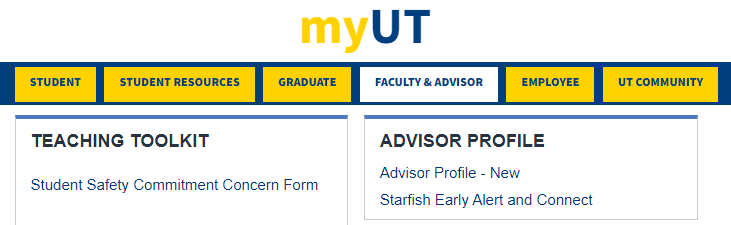
- Access Starfish: Login to the MyUT Portal. Click on the Faculty & Advisor Tab. Under the Advisor Profile section (top-right corner), click
on the link "Starfish Early Alert & Connect".
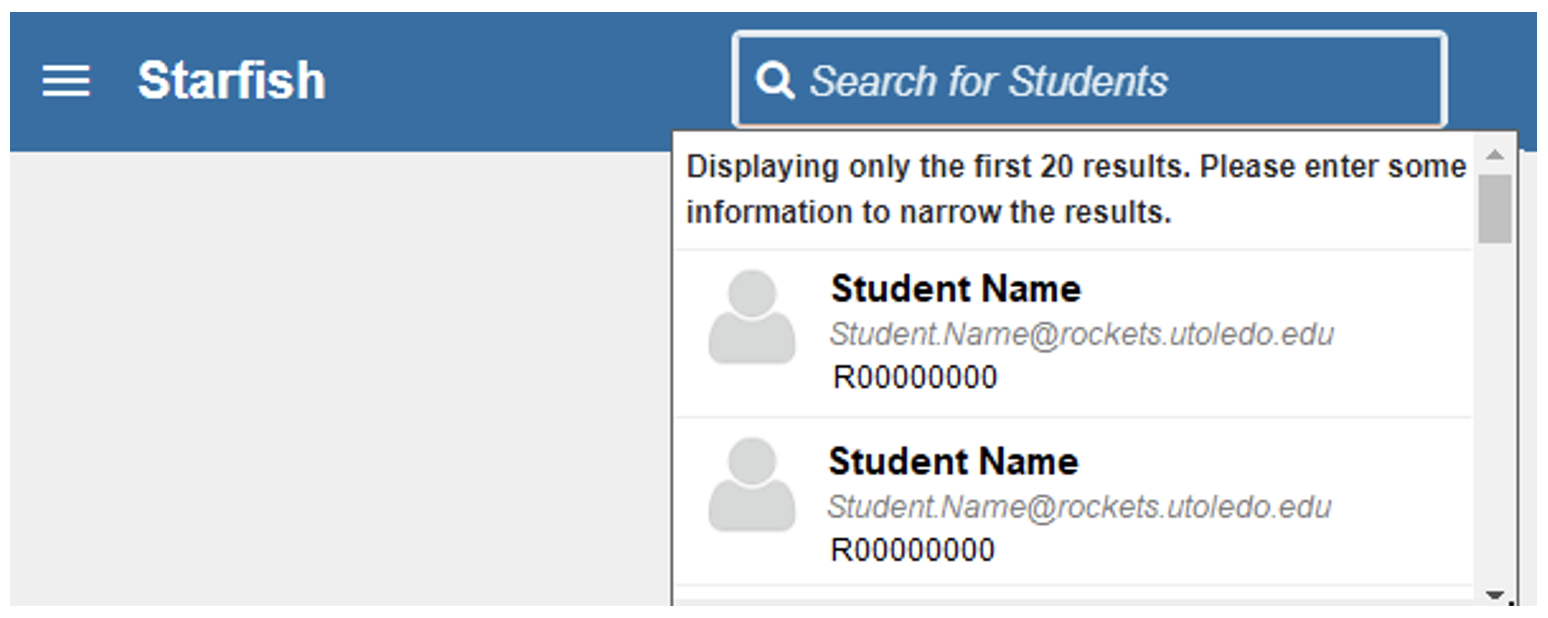
- Search for Student: Once in Starfish, use the search bar (top-right corner) to locate the student. Click
on their account to access their Starfish folder.
- Access Network: Once in the student folder, click on “Network” from the side menu.
- Review Success Network: The student's network will display individuals directly connected or assigned to the student.
Easily document communication outreach efforts and interactions with students to keep track of student notes and recall previous outreach attempts to not duplicate efforts.
How to Document a Note
- Access Students: Click the Starfish menu and then click "Students".
- Select the My Students Tab: There are multiple tabs featured across the top of Starfish, so ensure you are on
the My Students tab, which will individually list each student account in alphabetical
order.
- Apply Filters: Filter to the student population you plan to conduct outreach. If you only communicated
to one student, use the search feature to locate their individual student account.
- Select Students: Once you locate the student(s), check mark the box next to their name. If you need
to select all displayed students, check mark the box at the top of the column.
- Click Note Button: Add a Note to all selected students by clicking the Note button.

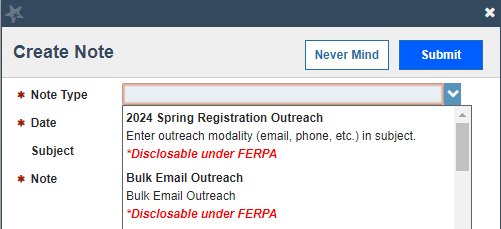
- Select Note Type: In the new window, a drop-down list will appear with all available Note Types, which
helps to categorize various outreach campaigns.
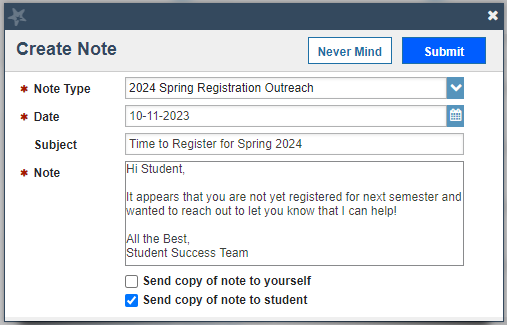
- Enter Date: Enter the date that you conducted the outreach.

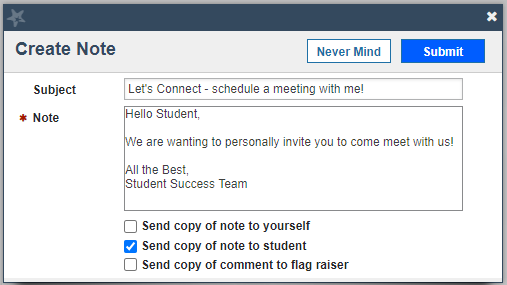
- Enter Subject: Enter the subject of the Note, which should be the modality of the outreach. Examples
include: "Email Message", "Phone Call & Left Voicemail", "Text Message", etc.

- Enter Note: Enter the details of the note, which could include the messaging sent to the student.
- Send Copy of Note: There is the option for you to send a copy of the note to yourself or the student.
If you were to send a copy of the note to the student, you would need to structure
the note in the format of an email message directed toward the student. Enter the
subject as the subject of the email message and then enter the body of the email message
in the note section. Ensure to include a greeting, your message, and your signature.
If you have multiple students selected, do not personalize the message.
- Note Sharing: Allow other Starfish users to be able to view this note in Starfish, we recommend
leaving the note as Shared. If you select Private, only the creator of the note and
the Starfish Administrators can view the note.

- Click Submit to save changes.
Easily send a message to students through Starfish.