

Microsoft PowerPoint
With PowerPoint on your PC, Mac, or mobile device, you can:
-
Create presentations from scratch or a template
-
Add images and tables as well as videos
-
Add transitions and animations to slides
-
Present your PowerPoint
-
Share and Co-Edit Presentations
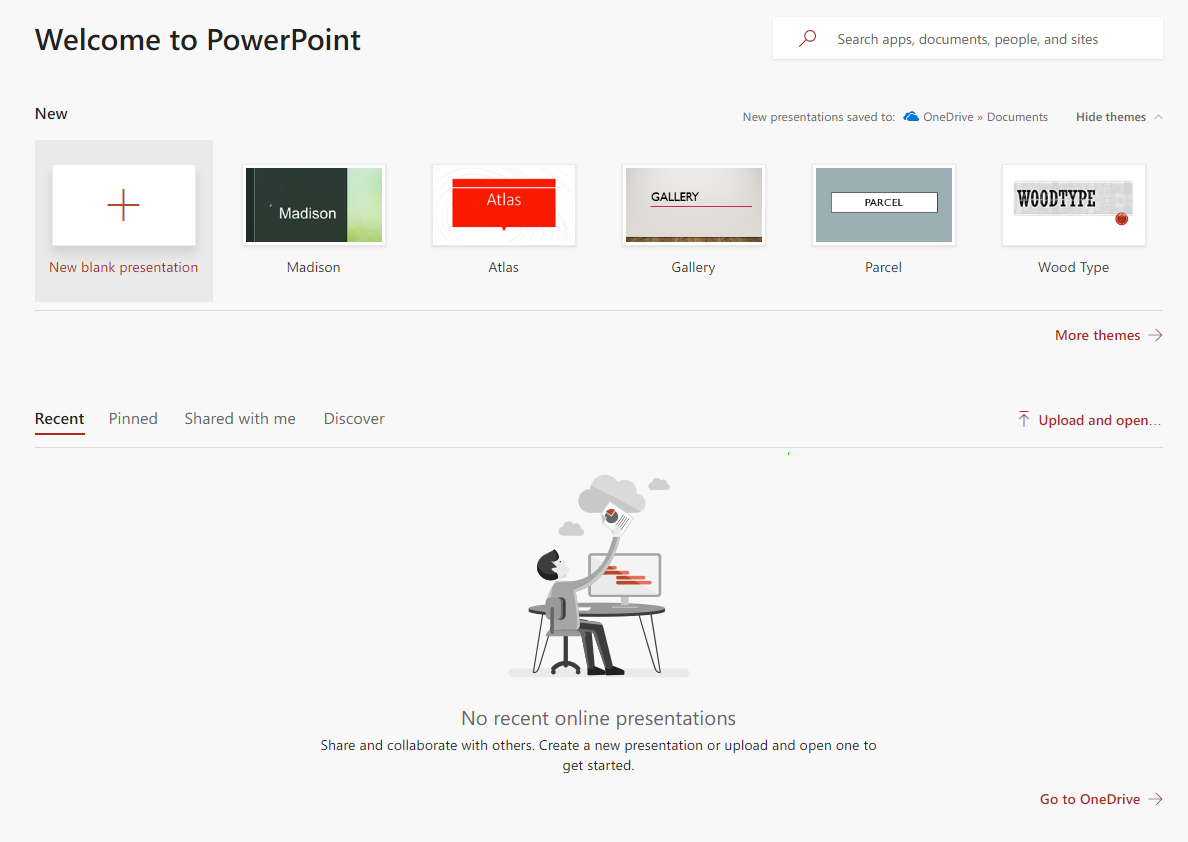
Create, open and rename a PowerPoint Presentation
- Sign in to office365.utoledo.edu and select PowerPoint in the Office 365 App Launcher.
- Select New blank presentation, open a Recent file or select one of the themes.
- To name or rename the presentation, select the title at the top and type a name for the PowerPoint.
Your changes are saved automatically in PowerPoint Online.
Adding slides and Images, Tables, and Videos to Slides
Adding images, tables, and videos all can be accessed from the Insert tab.

- Select the INSERT tab.
- Select what you want to insert:
- Table - select Table and then select the table size you want.
- Picture - select Picture, browse for the picture you want and select Open.
- Online Pictures - select Online Pictures, select a stock photo or search for an image on Bing, and select Insert.
- Online Video - select Online Video, search for a video from YouTube, and select Insert.
Adding Transitions and Animations to Slides
To add a slide transition, select Transitions, then select the transition you want to use.
To add an animation to an object, then select the animation you want to use.
Presenting PowerPoints
You can present powerpoints straight from Office365. To do this, select View > From Beginning to start from the beginning, or View > From Current Slide to start from the current slide
Sharing and Co-Editing PowerPoints
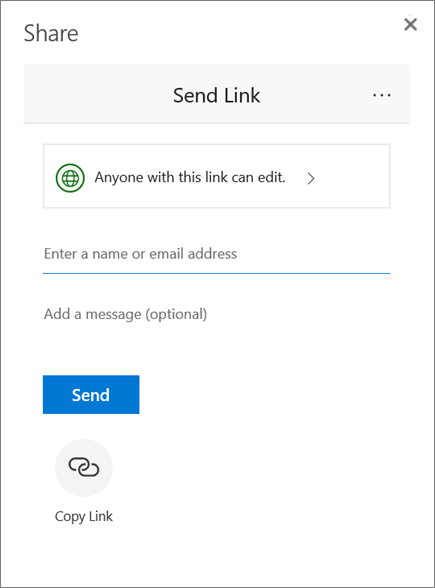
Sharing a Presentation
- Select Share.
- Select who you want to share with from the drop-down. Allow editing is automatically checked. Uncheck this if you only want to give permission to view the PowerPoint, not edit it. Select Apply.
- Enter the names or email addresses of who to share with.
- Add a message (optional).
- Select Send or select Copy link to get a link to the file.
![]()
Co-Editing a Presentation
After you share your presentation, you and others can work on it at the same time.
- To see changes in real time, work together in Word Online.
- Under Share, you'll see who is also editing the file.
- Colored flags will show you exactly where in the presentation each person is working.

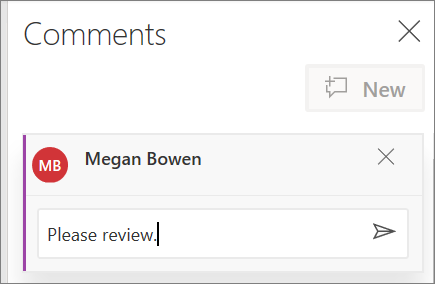
Add a comment
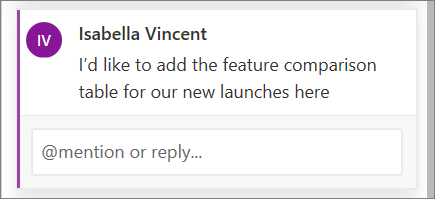
- Select REVIEW > New Comment, or right-click in your presentation and select New Comment. A comment bubble
 appears in the presentation where there's a note.
 - Type a comment and select Post.

Reply to, complete, or delete a comment
- Reply: Select Reply
 .
. - Complete: Select Mark as Done
 .
. - Delete Comment: Select X or REVIEW > Delete Comment.
Review comments
- Select Show Comments to display all comments in a presentation.
- Select Previous or Next to move between comments.