

How to edit menus
On July 1, 2019, our website moved to a mobile-first design. The navigation was reconfigured and the menu now appears as a button in the top right-hand corner. When expanded, the top menu appears first, followed by the main menu which appears collapsed. Visit this guide to learn more about our new mobile menus.
Below are on instructions on how to add, edit, move, display or hide and delete menus. Behind the scenes in Modern Campus, the original menu names are still the same to make the transition easier.
Please note that you may not edit the file name of a menu. Editing the file name of a menu will cause the menu to not display properly on your web pages.
How to add a new menu
- Browse to the website to which you want to add a menu, log in and click "Pages"
 in the upper left-hand corner. This will take you to the list of pages, menus and
files that make up the web presence you wish to edit.
in the upper left-hand corner. This will take you to the list of pages, menus and
files that make up the web presence you wish to edit. - Click the blue "+ New" button.
- Select "topMenu.xml.inc" and hit the enter key.
- In the editor that appears, you may edit the menu's contents.
- To add a new menu item, place your cursor to the right of the first item and hit return on your keyboard. Type the new menu item's name.
- To link the menu items, select the text and click the insert/edit link icon.

- In the new window that appears, either type the URL in the "Link URL" field or click
the browse button
 to browse for the page on the website to which you want to link.
 - In the "Target" field, select between the two options:
- "Open in This Window/Frame," which means the link will open within the same window. This is recommended when the page you are linking to is within utoledo.edu.
- "Open in New Window," which means the link will open within a new window. This is recommended when the page you are linking to is outside of utoledo.edu.
- Click the "Save" button
 to insert the link.
 - Save your work by clicking the save icon.

- To make your edits live, click the green "Publish" button.

- If your menu is hidden from view, learn how to display your menu below.
How to edit an existing menu
- Browse to the website with the menus you want to edit, log in and click "Pages" in the upper left-hand corner. This will take you to the list of pages, menus and
files that make up the web presence you wish to edit.
- Click the menu you wish to edit. For more information about our new mobile-first menus, visit our guide.
- In the editor that appears, you may edit the menu's contents.
- To add a new menu item, place your cursor to the right of the previous item and hit return on your keyboard. Type the new menu item's name.
- To link the menu items, select the text and click the insert/edit link icon.

- In the new window that appears, either type the URL in the "Link URL" field or click
the browse button to browse for the page on the website to which you want to link.
- In the "Target" field, select between the two options:
- "Open in This Window/Frame," which means the link will open within the same window. This is recommended when the page you are linking is within utoledo.edu.
- "Open in New Window," which means the link will open within a new window. This is recommended when the page you are linking to is outside of utoledo.edu.
- Click the "Insert" button
 to insert the link.
 - To remove a menu item, delete the text using the delete or backspace keys on your keyboard.
- Save your work by clicking the save icon.
- To make your edits live, click the green "Publish" button.
How to move menu items
The instructions below explain how to move all of the menu items from the mainMenu.xml.inc to the topMenu.xml.inc.
- Browse to the website with the menus you want to edit, log in and click "Pages" in the upper left-hand corner. This will take you to the list of pages, menus and
files that make up the web presence.
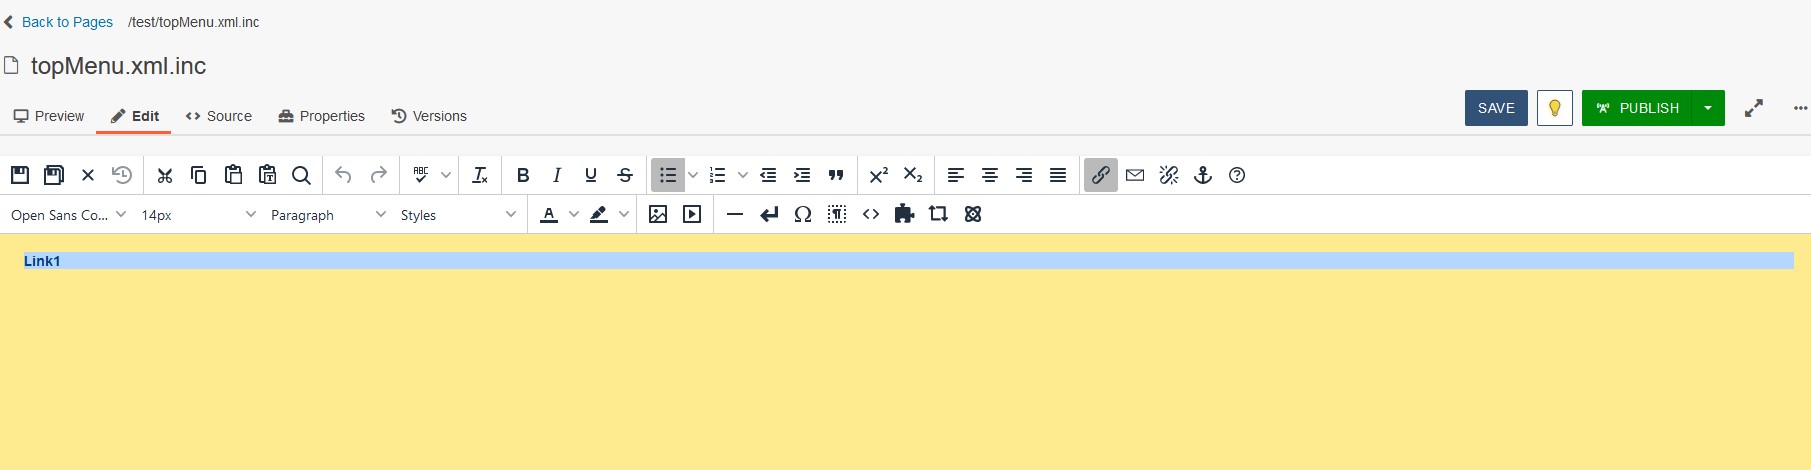
- Click on the mainMenu.xml.inc and click the HTML icon.

- In the new window that appears, select the HTML code beginning with <ul> and ending
at </ul> and copy it using the keys on your keyboard.
- Note you cannot copy the header as headers will not display in a topMenu.xml.inc
- Hit the red "Cancel" button to leave the menu as is and close the window.

- Click the yellow lightbulb button to check in or unlock the file.

- Click "Pages" in the upper left-hand corner.
- Click on topMenu.xml.inc and click the HTML icon.
- In the new window that appears, select all of the HTML code and overwrite it by pasting the code you just copied using the keys on your keyboard.
- Click the green "Update" button to save the changes and close the window.
- Save your work by clicking the save icon.
- To make your edits live, click the green "Publish" button.
- Now the topMenu.xml.inc and mainMenu.xml.inc are the same. You'll want to edit the mainMenu.xml.inc or remove it. To remove it, move the menu to the recycling bin. Then turn off or hide the menu, to prevent the mainMenu.xml.inc in any containing folders your web pages reside in from appearing.
The instructions below explain how to move all of the menu items from the UTadditionalMenu.xml.inc to the UTmainMenu.xml.inc or the UTthirdmenu.xml.inc to the UTadditionalMenu.xml.inc.
- Browse to the website with the menus you want to edit, log in and click "Pages" in the upper left-hand corner. This will take you to the list of pages, menus and
files that make up the web presence you wish to edit.
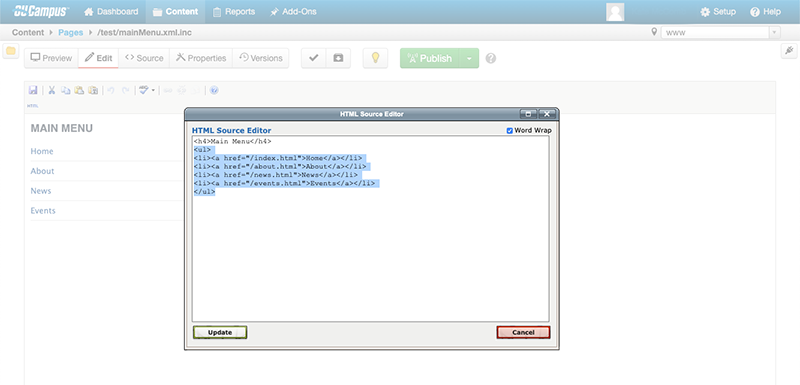
- Click on the appropriate menu file from which you would like to use the menu items,
and click the HTML icon.
- In the new window that appears, select the HTML code beginning with <h4> and ending
at </ul> and copy it using the keys on your keyboard.
- Note you must copy the header as that label provides the + icon users must click to expand and view the UTmainMenu.xml.inc or UTadditionalMenu.xml.inc
- Hit the red "Cancel" button to leave the menu as is and close the window.
- Click the yellow lightbulb button to check in or unlock the file.
- Click "Pages" in the upper left-hand corner.
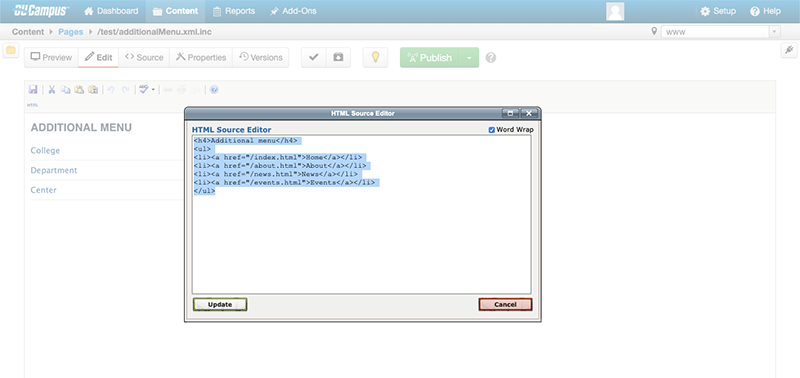
- Click on appropriate menu file to which you would like to add the menu items, and
click the HTML icon.
- In the new window that appears, select all of the HTML code and overwrite it by pasting
the code you just copied using the keys on your keyboard.
- Make sure the h4 header properly describes the menu, learn more
- Click the green "Update" button to save the changes and close the window.
- Save your work by clicking the save icon.
- To make your edits live, click the green "Publish" button.
- Now you'll have menus that are the same. You'll want to edit the duplicate or remove it. To remove it, move the menu to the recycling bin. Then turn off or hide the menu, to prevent the mainMenu.xml.inc in any containing folders your web pages reside in from appearing.
How to Display or Hide a menu
- Browse to the website with the menu you want to hide or display and log in.
- Click the lightbulb
 toward the top of the page to check it out and be able to edit it.
 - Click on the "Properties" button
 toward the top.
 - Click the "Parameters" tab
 to the left.
 - Under "Custom Settings," uncheck the box next to the menu that you would like to hide
or check the box to display.
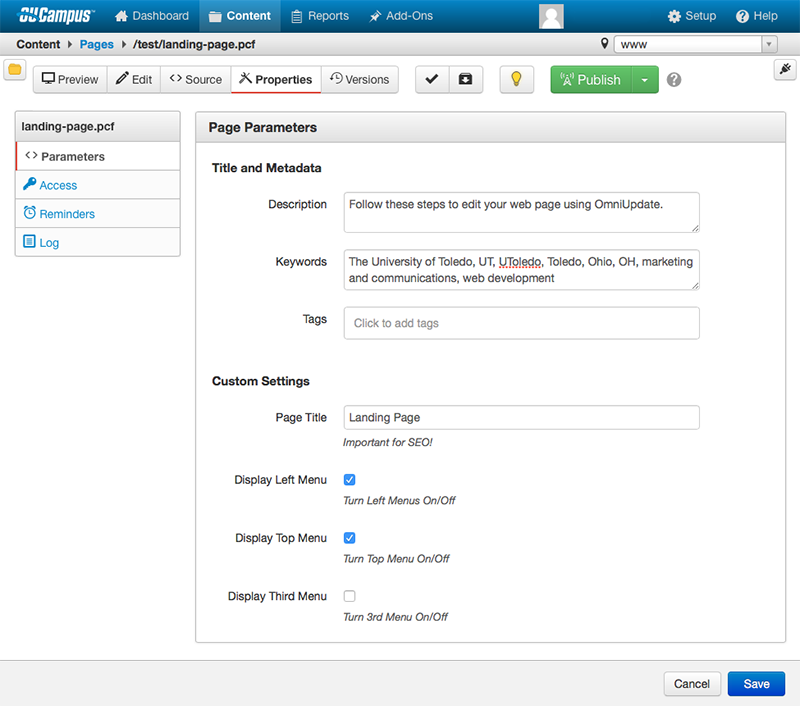
- Save your work by clicking the blue "Save" button
 toward the top of the page.
 - To make your edits live, click the green "Publish" button.
If you would like to display or hide a menu for multiple pages in a folder, you may edit each page individually following the instructions above, or submit a help request and the web team will help you.
How to delete a menu
- Browse to the website to which you want to add a menu, log in and click "Pages" in the upper left-hand corner. This will take you to the list of pages, menus and
files that make up the web presence you wish to edit.
- Select the menu you wish to delete by clicking the box to the left of the menu title.
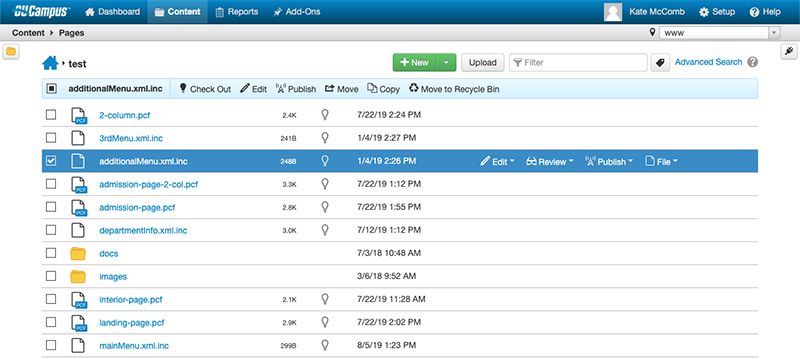
- In the toolbar above, click the "Move to Recycle Bin" button.
